You have an idea for a carbon fiber part — maybe a rear wing for a new model, a full body kit, or a part that no supplier offers. What happens between that idea and a box of finished parts at your door?
As a manufacturer that has run custom carbon fiber projects since 2002, we will walk you through the exact process we use at JC AUTOCARBON — so you know what to expect, what to prepare, and where your money goes.

Step 1: Start With Whatever You Have
A custom project does not need a perfect starting point. We can begin from:
The more complete your data, the faster the review. But an incomplete start is normal — about half of our projects begin with only a sample or a sketch.
Step 2: Engineering Review and DFM
Before any tooling money is spent, our engineering team reviews your project:
This is called a DFM review (Design for Manufacturing).
It catches problems while they are still free to fix. If your design has a surface that cannot release from a mold, or a corner that will trap air bubbles, this is where we find it.
Step 3: Design and 3D Development
If you only have a sample, we 3D scan it and rebuild accurate CAD data. If you only have a sketch, our design team develops full 3D models and renderings for your approval.
For parts with complex styling or high visual risk, we may recommend a 3D-printed verification piece first — so you can check proportions and on-car fit before investing in molds.

Step 4: Mold Development
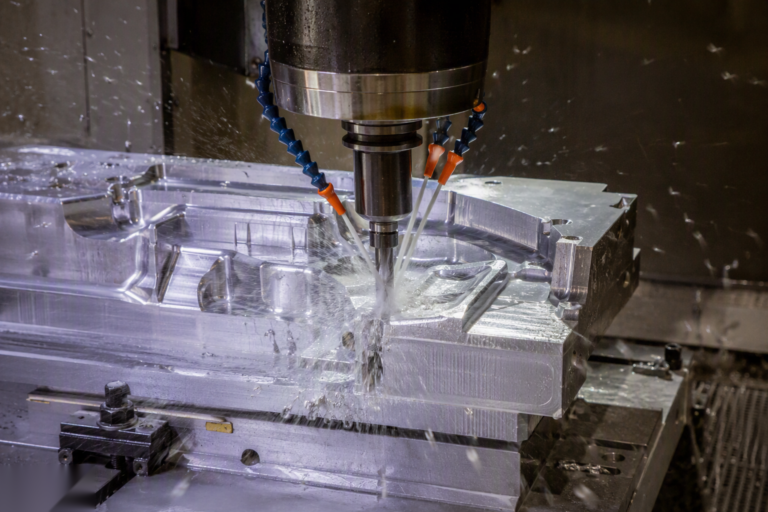
The mold decides your part’s accuracy, surface, and consistency. We build molds in-house by CNC machining — rapid prototype molds for testing, aluminum molds for medium volumes, and steel molds for high-volume production.
Building molds in our own factory matters for you: it means faster lead times, easier modifications, and no finger-pointing between a mold shop and a production shop.
Step 5: First Sample (Golden Sample)
After tooling, we produce the first sample. This sample is used to verify:
You review the sample (in person, or through detailed photos, videos, and measurement reports), and we revise if needed. Nothing goes to mass production without your approval.
Step 6: Mass Production and QC
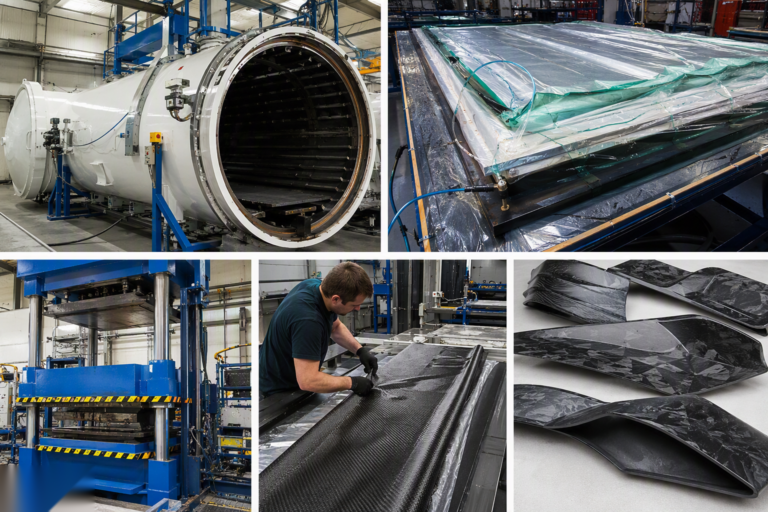
Once the sample is approved, production begins. Every batch follows documented SOPs — fabric cutting plans, layup sequences, cure cycles — so part #500 matches part #1. Before shipment, every part passes surface, dimension, and mounting-point checks.
How Long Does All This Take?
For most standard custom projects, the first sample is ready in about 58 days after design data is confirmed: CNC tooling 15–20 days, mold cloning 20–25 days, and sample production 15–20 days. Bulk production then takes 15–45 days depending on quantity.
What Does It Cost?
Custom project cost depends on part size, structure, material, process, mold type, and order volume. Tooling and sample costs are usually paid before development; for many projects, these can later be credited against bulk orders once an agreed volume is reached. Ask us — we quote every project individually after reviewing your data.
FAQ
Have a project in mind?
Send us your sample, 3D files, or even a sketch. Our engineers will reply with a feasibility review and a realistic timeline.