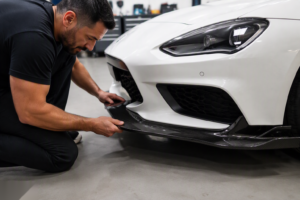
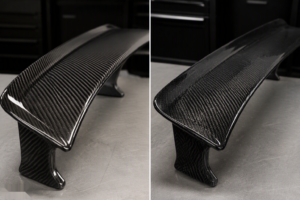
Two carbon fiber parts can look identical in a photo and behave completely differently on the road. The difference is rarely the fabric you can see — it is how the material was prepared and which manufacturing process shaped it.
At JC AUTOCARBON, we run five carbon fiber molding processes in-house, because no single method fits every part. This guide walks through the whole journey: how the raw material is prepared, the seven steps every part goes through on our factory floor, and how to choose the right process for your project.

How Carbon Fiber Material Is Prepared
Every carbon fiber part starts long before the mold. How the material itself is prepared explains why two “carbon fiber” parts can differ so much in strength — and in price.
From PAN Precursor to Carbon Fiber
Most carbon fiber begins as polyacrylonitrile (PAN), a white polymer fiber that looks nothing like the black fabric you know. Three heat treatments turn it into carbon:

From Fiber to Fabric
Carbon fibers are bundled into tows — 1K, 3K, or 12K filaments per bundle — and then woven into fabric or kept unidirectional:
Resin Systems
Fiber provides the strength; resin locks it in place. Three resin systems dominate carbon fiber manufacturing:
The fiber-to-resin ratio decides final quality: more fiber means a lighter, stronger part — and that ratio is exactly what separates the five molding processes below.
The Carbon Fiber Fabrication Process: 7 Steps From Mold to Finished Part
Whatever the molding method, every part we ship goes through the same seven fabrication steps. Here is what actually happens on the factory floor.
Step 1 — Design and Mold Making
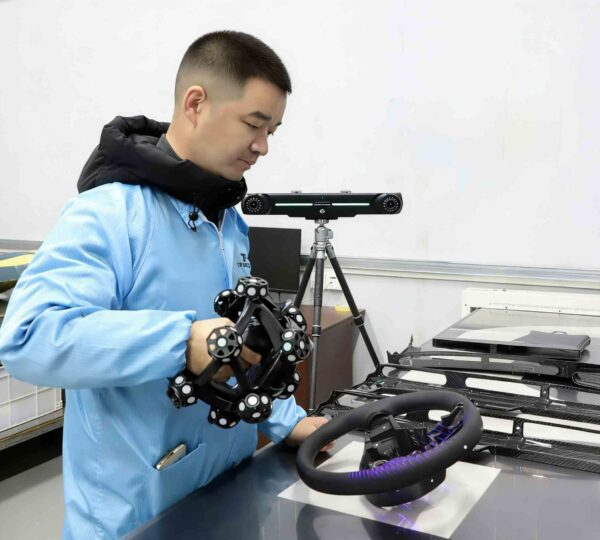
We 3D-scan the vehicle or work from CAD data, then CNC-machine the mold from aluminum or steel. Mold precision sets the ceiling for fitment: our molds are machined so finished parts can hold ±0.3 mm. Before any fabric touches it, the mold is sealed and coated with release agent.

Step 2 — Cutting and Kitting
Fabric or prepreg is cut to pattern on a CNC cutting table. Every kit gets a label with ply number and fiber orientation, so the layup team places each layer exactly where the engineering calls for it.
Step 3 — Layup
Plies are laid into the mold one by one, with fiber directions rotated (0°, ±45°, 90°) to carry loads from every direction. The cosmetic show layer goes against the mold surface first; structural plies stack behind it. This is where operator skill shows — wrinkles and bridging over tight corners become permanent defects once the part cures.

Step 4 — Resin Application and Vacuum Bagging
How the resin meets the fiber depends on the process: brushed on by hand (wet layup), drawn through by vacuum (infusion), already inside the fabric (prepreg), or pressed in under a closed mold (compression molding). A vacuum bag then seals the stack, pulling out trapped air and compacting the plies — the single most important step for avoiding bubbles and dry spots.

Step 5 — Curing
Heat and pressure harden the resin into its final shape. Autoclave parts cure at 120–180 °C under 6–7 bar for maximum consolidation; oven-cured and infusion parts use gentler cycles; compression molding cures in minutes inside a heated press. Cure a part wrong — too fast or too cold — and no amount of polishing will save it.

Step 6 — Demolding and CNC Trimming
After demolding, CNC machines cut the final outline, drill mounting holes, and open up vent and sensor cutouts. This is where fitment is locked in — and why we test-fit parts on real vehicles before a batch ships.

Step 7 — Finishing, Quality Control and Packaging
Parts are sanded, sealed, and clear-coated with UV-resistant lacquer — the layer that decides whether a part still looks good after two summers in the sun. Every piece passes visual inspection, weave alignment checks, and fitment verification before it is foam-wrapped, boxed, and labeled for shipment.

The 5 Carbon Fiber Molding Processes We Run In-House
The steps above stay the same; what changes is how the resin meets the fiber and how the part is cured. That choice — the molding process — is what drives cost, consistency, and quality. (Other industries also use RTM, filament winding, or pultrusion; for automotive exterior and interior parts, the five processes below cover every real-world case.)
1. Prepreg + Autoclave (Dry Carbon)
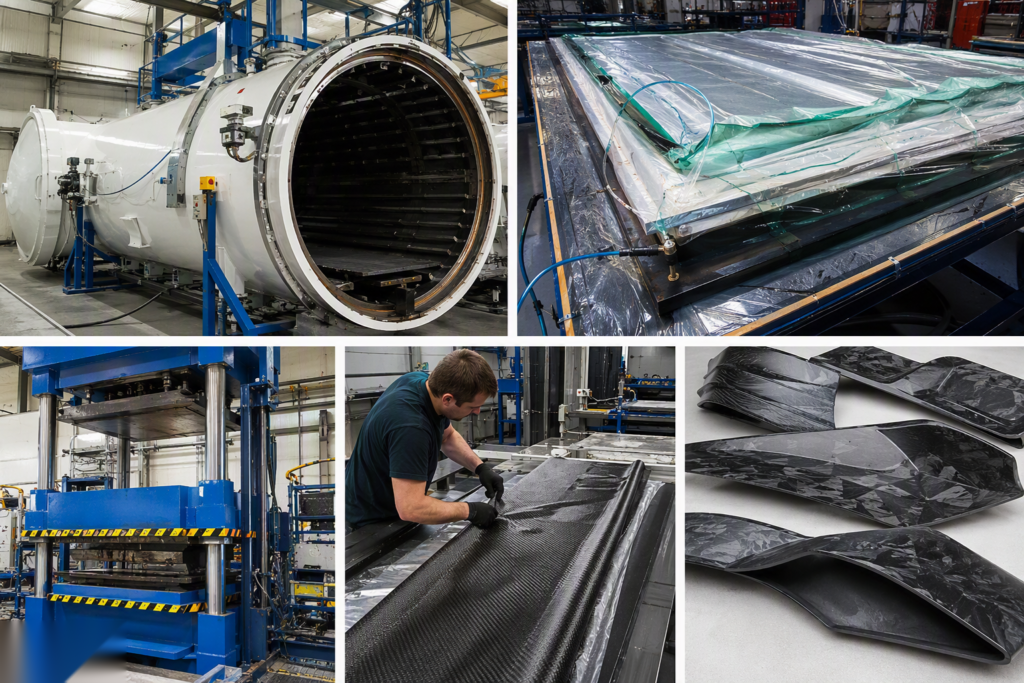
The fabric arrives pre-impregnated with a machine-measured amount of resin and is stored frozen. It is laid into a mold, vacuum-bagged, and cured in an autoclave at 120–180 °C under 6–7 bar of pressure.
Result: the highest quality available — 60–70% fiber content, void content below 1%, and a perfect weave surface straight from the mold.
Best for: structural parts, aero parts under load, premium visible parts, and any project where every piece in a batch must be identical.
Trade-off: the highest material and equipment cost.
2. Oven Curing (Out-of-Autoclave Prepreg)
Same prepreg material, but cured in an oven under vacuum instead of a pressurized autoclave.
Result: close to autoclave quality at lower cost, with slightly less consolidation pressure.
Best for: medium-size parts where full autoclave pressure is not required.
3. Vacuum Infusion
Dry fabric is laid into the mold and sealed under a vacuum bag. Liquid resin is then drawn through the fabric by vacuum pressure. The part cures at room temperature or with mild heat.
Result: good quality at moderate cost — typically 45–55% fiber content. Quality depends heavily on operator skill and process discipline.
Best for: larger parts, medium volumes, and projects that need better consistency than hand layup without autoclave cost.
4. Compression Molding
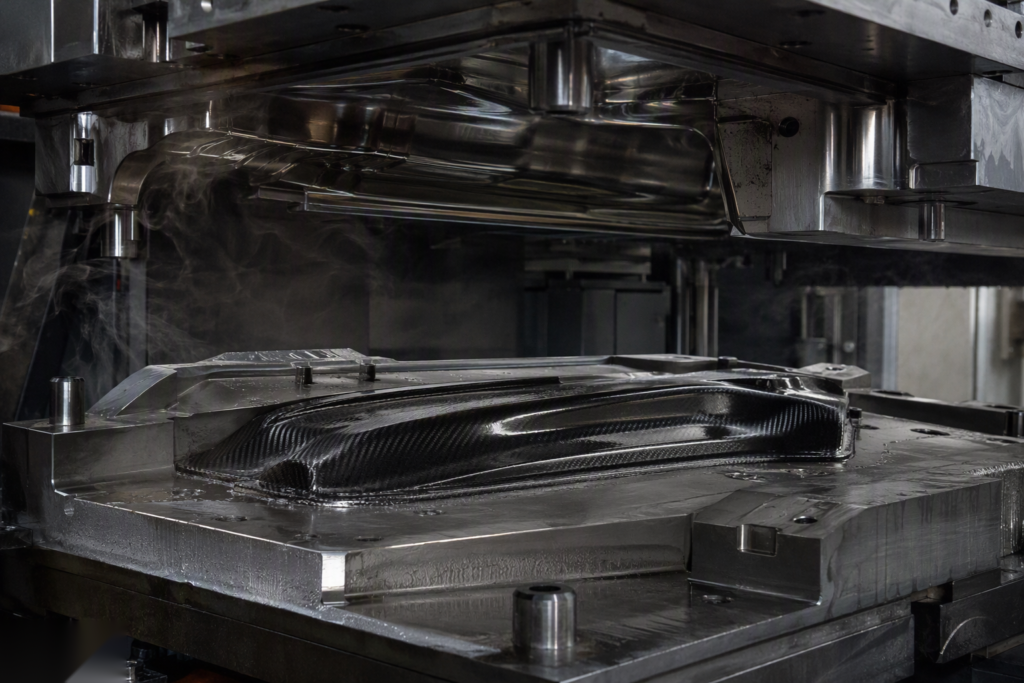
Pre-cut material (prepreg or sheet molding compound) is placed into a heated, closed steel mold and pressed into shape. Cycle time can be just minutes per part.
Result: excellent repeatability and the fastest cycle times of any process — but it requires significant mold investment and suitable part geometry.
Best for: high-volume production where unit cost and consistency matter most.
5. Wet Layup and Forged Carbon
Best for: interior trim, decorative covers, custom-styled parts, and design-driven projects.
Process | Fiber Content | Consistency | Cycle Speed | Tooling Cost | Best For |
|---|---|---|---|---|---|
Prepreg + autoclave | 60–70% | Excellent | Slow | High | Structural, premium, aero parts |
Oven curing (OoA) | 55–65% | Very good | Slow | Medium | Medium parts, near-autoclave quality |
45–55% | Good | Medium | Low–medium | Larger parts, medium volumes | |
Compression molding | 50–60% | Excellent | Fast | Very high | High-volume production |
Wet layup / forged | 40–55% | Medium | Medium | Low | Cosmetic, custom-styled parts |
How Do You Choose the Right Process?
When a customer sends us a new part, we ask four questions:

FAQs
Tell us about your part
size, quantity, and how it will be used — and our engineers will recommend the most cost-effective process.
Want to keep reading? Browse the full Resource Center for more articles, installation guides, and pricing insights from the factory.
Author: He Dong
He Dong has spent 20+ years doing what he loves most — making cars and bikes faster, sharper, and better looking.
As an Automotive & Motorcycle Engineering Specialist, he’s worked on everything from engine builds and chassis tweaks to track machines and custom aftermarket projects. If it has wheels and an engine, he’s probably taken it apart and made it better.
These days he focuses on the aftermarket world, where good engineering meets real-world budgets — and he’s not shy about calling out parts that look great in photos but don’t perform.
This blog is where he shares what’s worked, what’s failed, and what he’s learned along the way. Honest, hands-on advice, straight from someone who’s done the work himself.