Installation Support & Guides
Precision-made parts, part-by-part installation guides, and direct access to our engineers — so what you ordered fits the way it was designed to.
Prefer to talk? Chat with our support team on WhatsApp →
Help Beyond the Box
Every part we ship comes with the information you need to install it correctly — and a real engineer to ask when that is not enough.
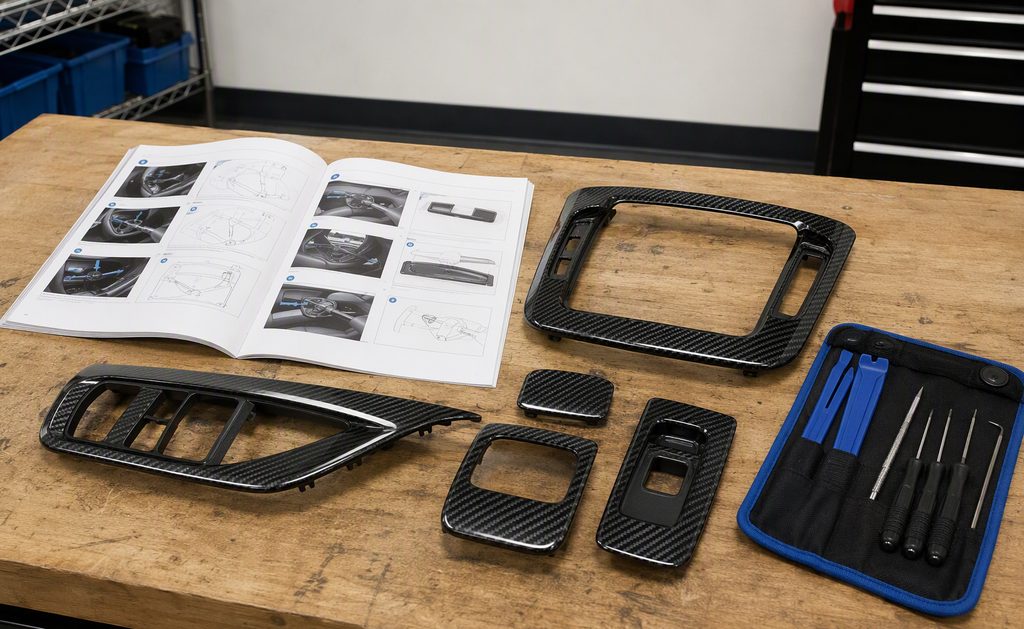
Installation Guides
Fitment notes and installation documents matched to your part, covering mounting points and hardware.

Video Walkthroughs
Step-by-step installation videos for common parts, from splitters and side skirts to spoilers and interior trim.

Remote Assistance
Stuck mid-install? Send photos or a short video — our engineers will walk you through it by email, WhatsApp, or a call.
Carbon Fiber Does Not Flex to Fit
Unlike plastic or thin metal, carbon fiber is rigid by design. A part can have a perfect weave and a flawless clear coat — and still be wrong. That is why our installation support starts long before the part reaches your bench.

Precision at the Source
Fitment problems usually start upstream — inaccurate molds, poor trimming, missing dimensional checks. We control all three in-house, so holes line up without force.

Validated on the Car
Fitment is verified against 3D scan data and trial fitting where available — not assumed from drawings. Install position is part of the engineering, aerodynamics included.
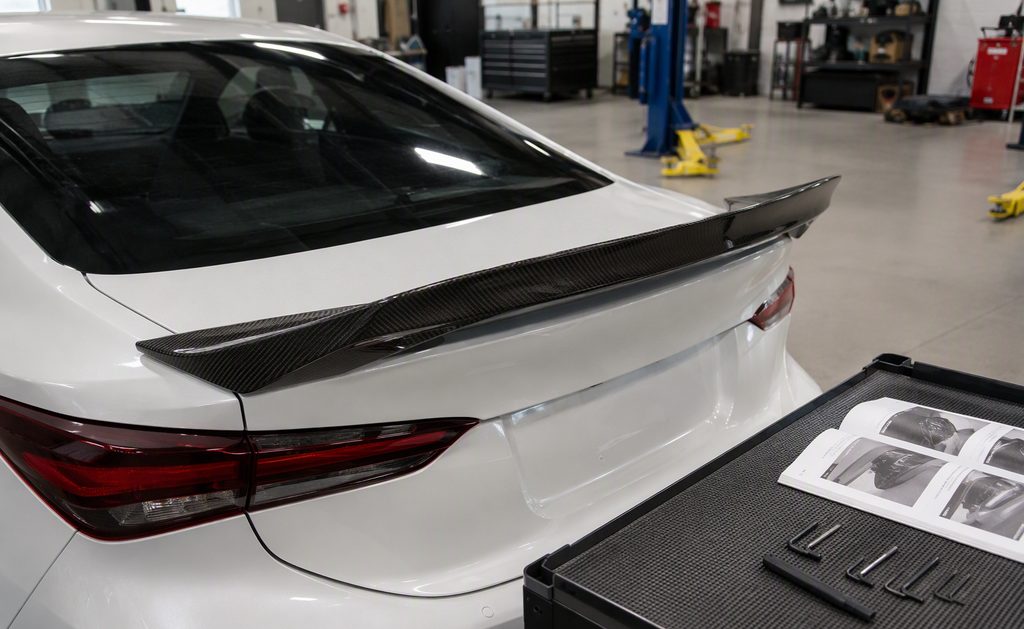
Routine, Not Wrestling
When precision is controlled, installers do not need to “make it work” — parts align naturally, panels sit flat, and the job becomes repeatable.
Part-by-Part Installation Guides
Detailed guides for every part category we make — hardware, tape zones, torque notes, and the mistakes to avoid.

Front Lip
Factory screws, 3M tape & race kits →

Rear Spoiler & Wings
3M tape, factory screws & GT wings →

Rear Diffuser
Bumper removal, sensors & factory clips →

Side Skirts
Factory screws, clips & tape zones →

Hood
Hinge swap, alignment & accessory transfer →

Mirror Covers
Clip-on caps & stick-on covers →

Canards
Tape, sealant & perfect symmetry →

Vents & Trims
Bumper, side & fender trims →

Interior Trim
3M tape done right →

Grille
Clip-on replacement & stick-on frames →
What Do Parts Like These Cost?
Before you book installation time, see what the parts themselves run — by part type, material, and finish.
Installation Questions, Answered
Why do some carbon fiber parts fail at installation?
Carbon fiber does not flex to fit. If bolt holes, angles, or panel geometry are off — usually from inaccurate molds or poor trimming — no amount of force makes the part right. We control fitment at the mold and inspection stage so installs stay routine.
Do your parts come with mounting hardware?
It depends on the part. Mounting points are always verified against the vehicle, and your quote states exactly what hardware and documents are included.
Can I install parts myself?
Many of our parts are bolt-on and DIY-friendly with basic tools — our guides walk you through it. For hoods and structural or electrical-adjacent parts, we recommend a professional installer.
What if something does not fit?
Send us photos and a short video of the issue. We verify against the mold and scan data, then work with you on adjustment, guidance, or a solution under our after-sales policy.
Do you support installers and shops?
Yes. If your installer has questions about mounting points or procedures, they can contact our engineering team directly.
Need Fitment Help?
Tell us your car model and the part you are looking at. We will confirm fitment and what the installation involves.
Start Your Project & Get a Fast Quote