
A front lip is the single most popular carbon fiber upgrade — and the one most often installed wrong. The two failure modes we see from customers: tape-only installs that peel at highway speed, and overtightened screws that crack the flange around the mounting holes.
As the manufacturer, we test-fit every front lip on the actual vehicle before it ships. This guide is the same procedure our engineers follow, covering both designs we produce: standard add-on lips (factory screw points + 3M tape) and multi-piece race lips (bumper-off, metal brackets, lower spoiler plate).
View all carbon fiber font lip parts >>

Step 0: Know Which Design You Have
Standard Add-On Lip | Multi-Piece Race Lip | |
|---|---|---|
Pieces | 1 | 3+ (upper lip, lower spoiler plate, wind knives/canards) |
Bumper removal | No | Yes |
Mounting | Factory screws + 3M VHB tape | Metal brackets + M10 bolts + tape |
Time | 30–45 min | 2–3 hours |
DIY? | Yes, with a friend | Experienced DIY or a shop |
Check your package: if it contains metal brackets and long M10 bolts, you have a race kit — skip to Method B.
Tools & Prep (Both Methods)
Full prep rules — cleaning, test fitting, temperature — are in our general installation guide. The short version: clean, dry-fit, mark, then commit.
Method A: Standard Add-On Front Lip (Factory Screws + Tape)
This is how most of our lips mount, e.g. the BMW F92/F93 M8 lip: 12 factory-position M6×16 screws along the bottom, 3M VHB 4910 tape (10 mm) sealing the top edge.

Method B: Multi-Piece Race Lip (Bumper Removal + Brackets)
Race kits — like our G80 M3 / G82 M4 race front lip — replace the aero structure under the bumper, not just the look. The upper lip, lower spoiler plate, and wind knives each mount separately.
What’s in the box (typical BOM):
Component | Qty | Hardware | Qty |
|---|---|---|---|
Upper front lip | 1 | M6×60 screws | 6 |
Lower spoiler plate | 1 | M10×1.5×110 hex bolts | 2 |
Wind knives | 2 | M6 nuts + M6×2×24 gaskets | 6 + 12 |
Metal brackets | 2 | M6×35 screws | 2 |
— | — | 3M tape / adhesive sealant | 1 set |
The procedure:

Honest advice: if you have never removed a bumper, this is the one to hand to a body shop. Bumper clips break easily, and the bracket alignment decides whether the whole kit sits straight.
Time & Difficulty by Vehicle
Vehicle | Design | Time | Notes |
|---|---|---|---|
BMW F92/F93 M8 | Add-on, 12 screws + tape | 30–45 min | Generous factory points, easy DIY |
BMW G90 M5 | Add-on, screws + tape | 30–45 min | — |
BMW X3M/X4M/X5M (F97/F98/F95) | Add-on, screws + tape | 45–60 min | SUV height helps access |
Ford Mustang GT | Add-on, screws + tape | 30–45 min | — |
BMW G80 M3 / G82 M4 (Race) | Multi-piece, bumper-off | 2–3 hrs | Brackets + lower plate |
The 5 Mistakes That Ruin Front Lip Installs
After Installation
FAQs
Shopping for a front lip? Browse all carbon fiber front lips — 400+ applications including BMW G80 M3, BMW M8 and Ford Mustang. Every kit ships with the screws, 3M VHB tape and primer needed for that specific part, and model-specific instructions are available from our team.
More Carbon Fiber Installation Guides
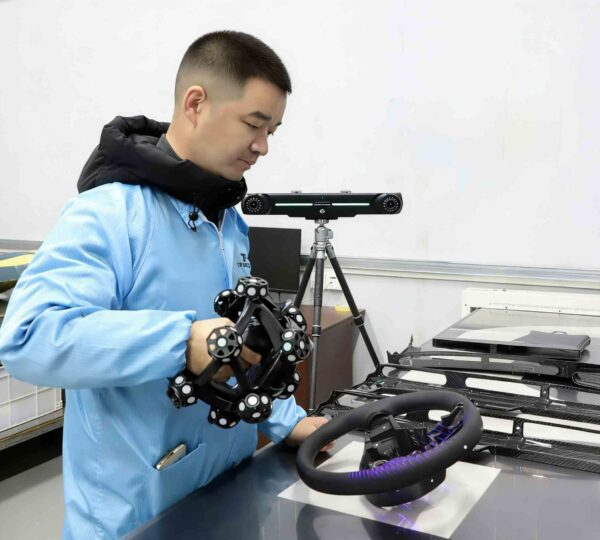
Author: He Dong
He Dong has spent 20+ years doing what he loves most — making cars and bikes faster, sharper, and better looking.
As an Automotive & Motorcycle Engineering Specialist, he’s worked on everything from engine builds and chassis tweaks to track machines and custom aftermarket projects. If it has wheels and an engine, he’s probably taken it apart and made it better.
These days he focuses on the aftermarket world, where good engineering meets real-world budgets — and he’s not shy about calling out parts that look great in photos but don’t perform.
This blog is where he shares what’s worked, what’s failed, and what he’s learned along the way. Honest, hands-on advice, straight from someone who’s done the work himself.


