
Interior trim is a ten-minute install that fails for one reason more than any other: silicone. Dashboards and door panels are routinely treated with silicone-based dressings, and 3M tape will not bond to silicone — no exceptions, no shortcuts. Get the surface truly clean and this is the easiest install in the series.
Our interior trims are stick-on overlays that bond over the factory panels with pre-applied 3M tape — dash strips, center console surrounds, door handle trims, shift panels. No disassembly, no tools, no clips. Here is the procedure our engineers follow.
View all carbon fiber interior trim parts >>

Step 0: What’s in the Box
Piece | Typical position | Notes |
|---|---|---|
Dash trim strip | Across the dashboard | Longest piece — align center first |
Console surround | Around shifter / iDrive | Curved — warm it for conformity |
Door handle trims | Inner door pulls | Small pieces, easiest |
Shift panel / button surrounds | Center stack | Check button clearance after bonding |
Every piece is pre-fitted with 3M tape on the contact face. Your job: clean, align, press.
Tools & Prep
Full prep rules — cleaning, test fitting, temperature — are in our general installation guide.
The Procedure


Time & Difficulty
Set | Pieces | Time |
|---|---|---|
Dash + console set | 2–4 | 20–30 min |
Full interior kit | 5–8 | 45–60 min |
Single trim piece | 1 | 10 min |
The time is almost all cleaning. Bonding each piece takes under a minute.
The 5 Mistakes That Ruin Interior Trim Installs
After Installation
FAQs
Shopping for interior trim? Browse all carbon fiber interior trim — applications including BMW G80 M3, BMW M3 and BMW M4. Every set ships with pre-applied 3M tape.
More Carbon Fiber Installation Guides
Working on a different part? Find all of our step-by-step installation guides in the Resource Center.
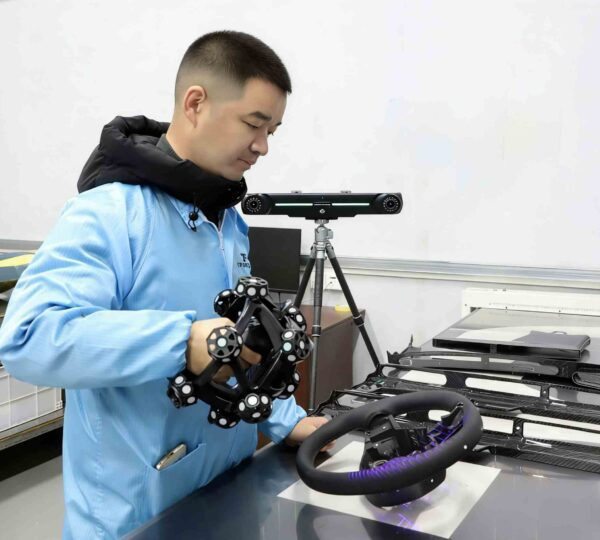
Author: He Dong
He Dong – Automotive & Motorcycle Engineering Specialist, has spent 20+ years doing what he loves most — making cars and bikes faster, sharper, and better looking.


